Select a Map
This map has both local and newer default changes.
Now Loading…
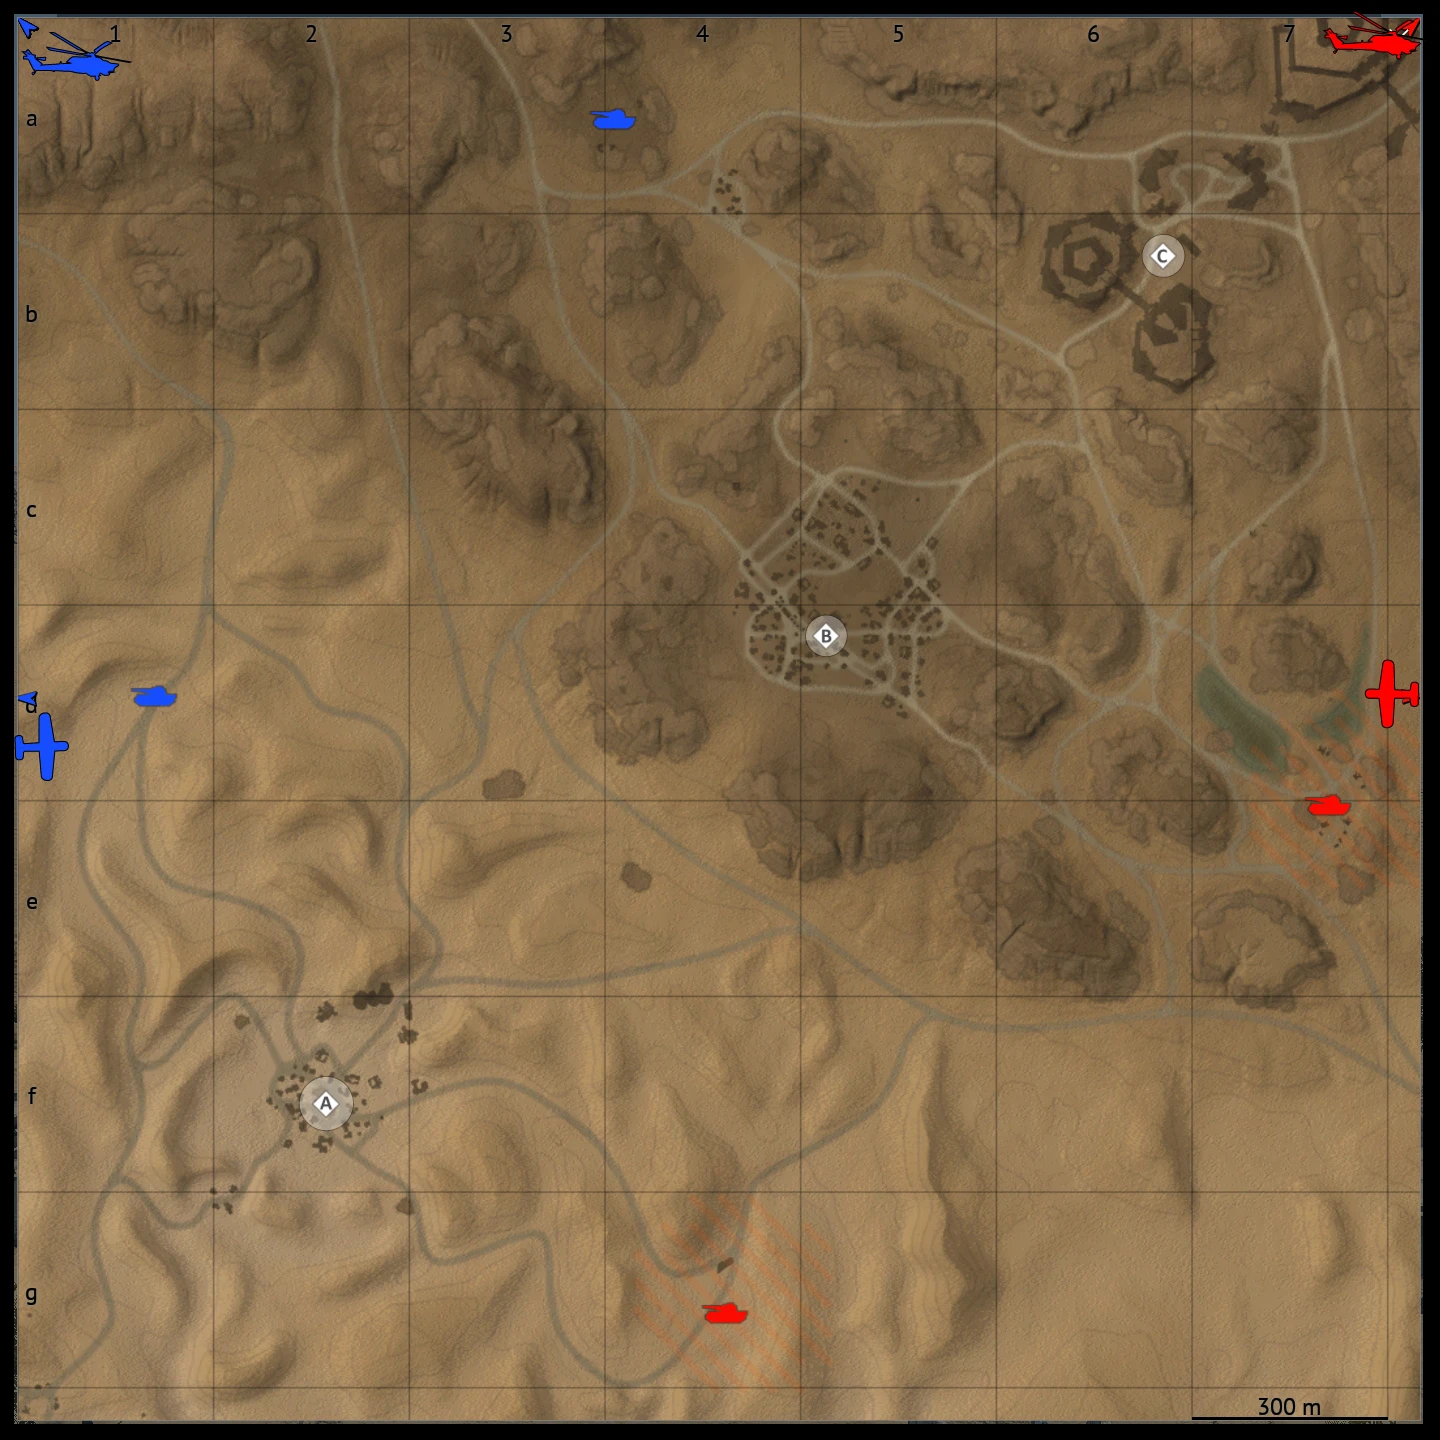 Click to enlarge
Tactical Summary
Second Battle of El Alamein Domination #1 is split between the rocky high ground around points A and B and the low desert around point C. The A–B sector is the more important part of the map.
Points A and B are easier to break through because the rocks create dense cover, and losing either side can quickly open a route toward the spawn. Point C has much lower strategic value, though the desert still needs enough attention to prevent flanking along the boundary between the desert and the rocky terrain.
Map editing tools
Drag icons from the legend onto the map.
Comment
0 / 120 B
0 / 120 B