Select a Map
This map has both local and newer default changes.
Now Loading…
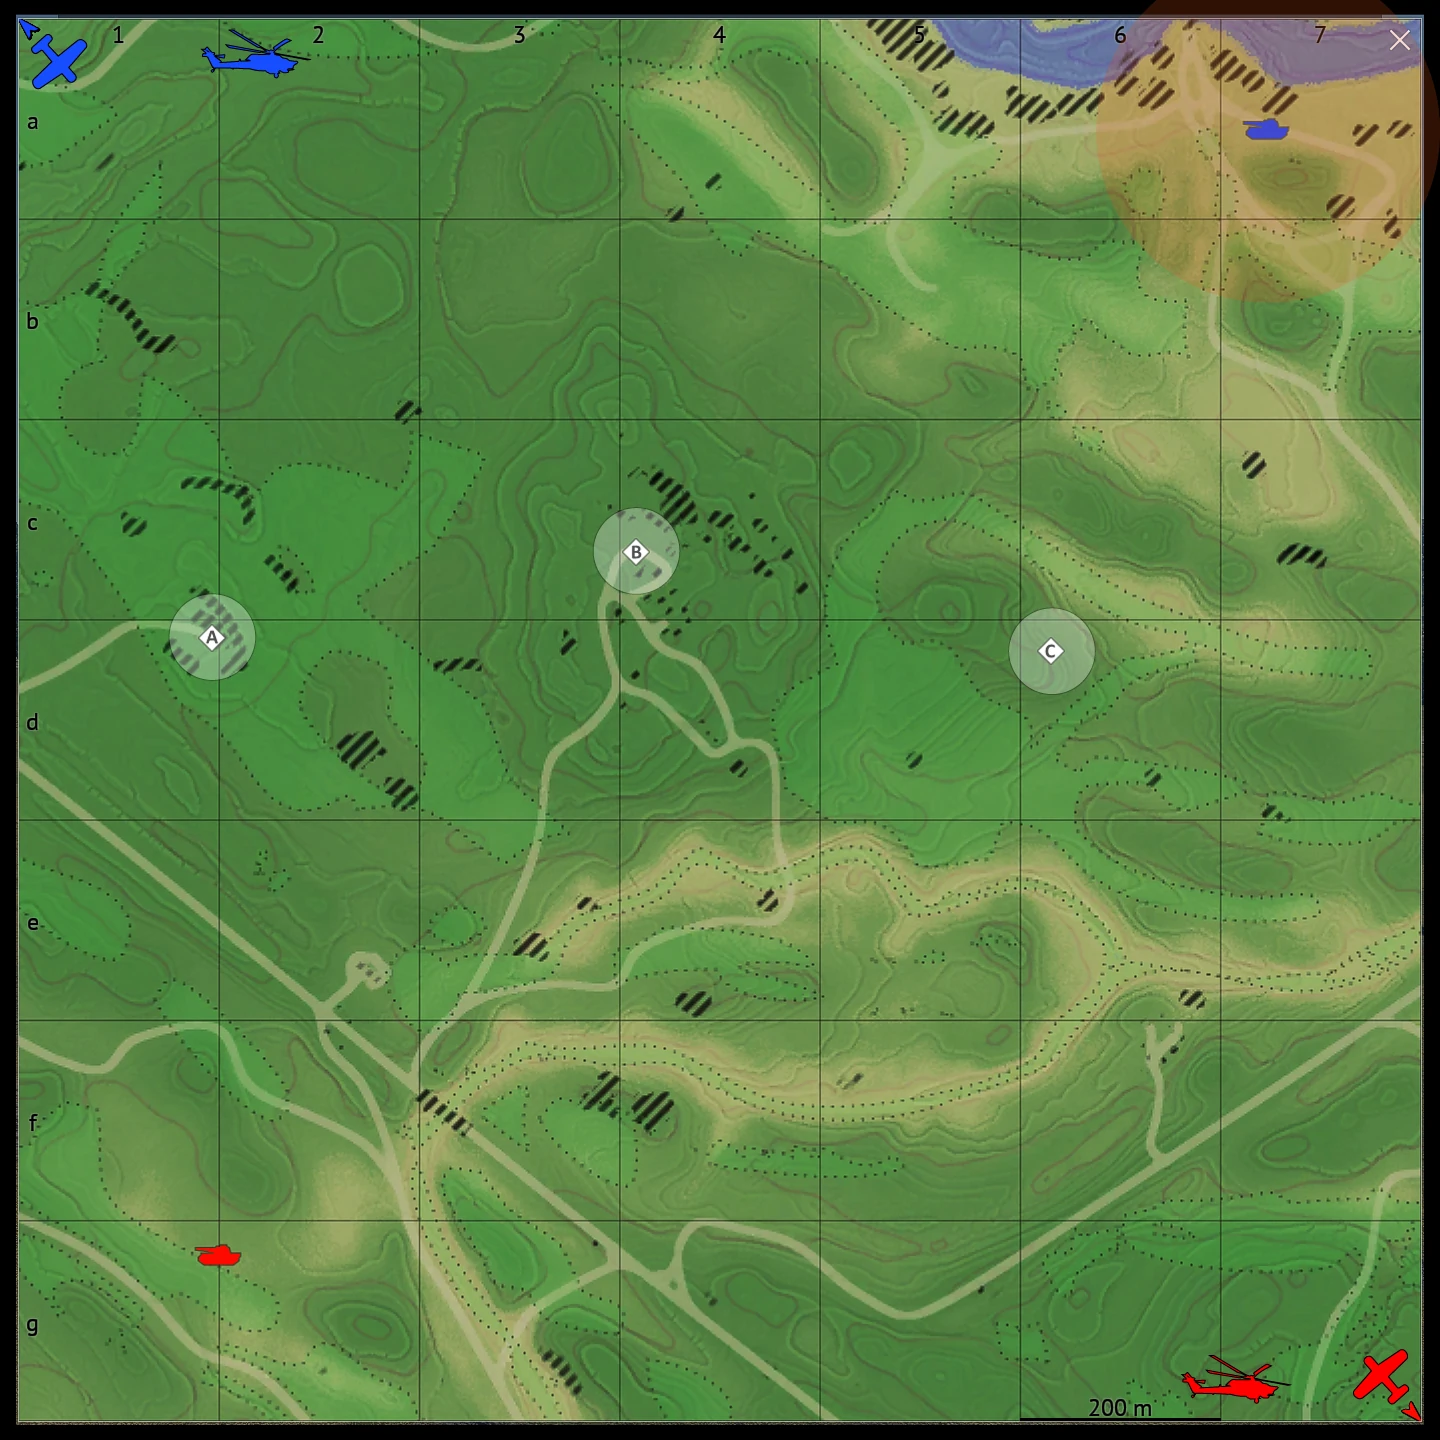 Click to enlarge
Tactical Summary
The decisive area on Mozdok is the high ground around point B. Controlling it gives strong influence over both A and C and can quickly create pressure on the enemy spawn.
Point A strongly favors the defender and is difficult to break directly. Around C, hull-down fighting is usually safer than wide flanks, although the recessed riverbed provides the southern team with a relatively protected approach.
Map editing tools
Drag icons from the legend onto the map.
Comment
0 / 120 B
0 / 120 B